はじめに
Railsチュートリアルを進めるにあたって、環境構築を行いました。
環境構築
ほぼほぼ、参考ページの通りに進めたらデモページまでは到達しました。
色々インストール。
sudo apt install -y sqlite3 libsqlite3-devsudo apt install -y curl
curl -sS https://dl.yarnpkg.com/debian/pubkey.gpg | sudo apt-key add -
echo "deb https://dl.yarnpkg.com/debian/ stable main" | sudo tee /etc/apt/sources.list.d/yarn.list
sudo apt update
sudo apt install -y yarn
sudo apt install --no-install-recommends yarn
yarn --versionrailsのインストール。gemコマンドが推奨のようです。
gem install railsrailsのバージョンを確認しておきましょう。
rails -v
# Rails 7.1.1
bundlerのインストールを行います。
gem install bundlerこちらもバージョンを確認しておきましょう。
bundler -v
# Bundler version 2.4.21任意のディレクトリに移動して、rails newをします。rails newは標準化されたディレクトリ・ファイル構造のテンプレートを自動で生成してくれるコマンドのようです。
mkdir ~/Git/ruby/environment
cd ~/Git/ruby/environment

rails new hello_app --skip-bundle
#      create
#      create  README.md
#      create  Rakefile
#      create  .ruby-version
#      create  config.ru
#      create  .gitignore
#      create  .gitattributes
#      create  Gemfile
#         run  git init -b main from "."
...
#      create  tmp/storage
#      create  tmp/storage/.keep
#      remove  config/initializers/cors.rb
# remove config/initializers/new_framework_defaults_7_1.rbbundleというコマンドでhello_appディレクトリにあるGemfileに記載があるgemライブラリをインストールします。
cd hello_app/

bundle install
# Fetching gem metadata from https://rubygems.org/...........
# Resolving dependencies...
# Bundle complete! 14 Gemfile dependencies, 82 gems now installed.
# Use `bundle info [gemname]` to see where a bundled gem is installed.
rails serverで動作確認を行います。ctrl+Cで終了できます。
rails server
# => Booting Puma
# => Rails 7.1.1 application starting in development
# => Run `bin/rails server --help` for more startup options
# Puma starting in single mode...
# * Puma version: 6.4.0 (ruby 3.2.2-p53) ("The Eagle of Durango")
# *  Min threads: 5
# *  Max threads: 5
# *  Environment: development
# *          PID: 18206
# * Listening on http://127.0.0.1:3000
# * Listening on http://[::1]:3000
# Use Ctrl-C to stop
# Started GET "/" for 127.0.0.1 at 2023-11-05 20:47:09 +0900
#    (5.0ms)  CREATE TABLE "schema_migrations" ("version" varchar NOT NULL PRIMARY KEY)
#    (0.2ms)  CREATE TABLE "ar_internal_metadata" ("key" varchar NOT NULL PRIMARY KEY, "value" varchar, "created_at" datetime(6) NOT NULL, "updated_at" datetime(6) NOT NULL)
#   ActiveRecord::SchemaMigration Load (0.1ms)  SELECT "schema_migrations"."version" FROM "schema_migrations" ORDER BY "schema_migrations"."version" ASC
# Processing by Rails::WelcomeController#index as HTML
#   Rendering /home/<username>/.rbenv/versions/3.2.2/lib/ruby/gems/3.2.0/gems/railties-7.1.1/lib/rails/templates/rails/welcome/index.html.erb
#   Rendered /home/<username>/.rbenv/versions/3.2.2/lib/ruby/gems/3.2.0/gems/railties-7.1.1/lib/rails/templates/rails/welcome/index.html.erb (Duration: 0.8ms | Allocations: 374)
# Completed 200 OK in 20ms (Views: 6.8ms | ActiveRecord: 0.0ms | Allocations: 7866)
#
#
# ruby -v
# ^C- Gracefully stopping, waiting for requests to finish
# === puma shutdown: 2023-11-05 20:47:43 +0900 ===
# - Goodbye!
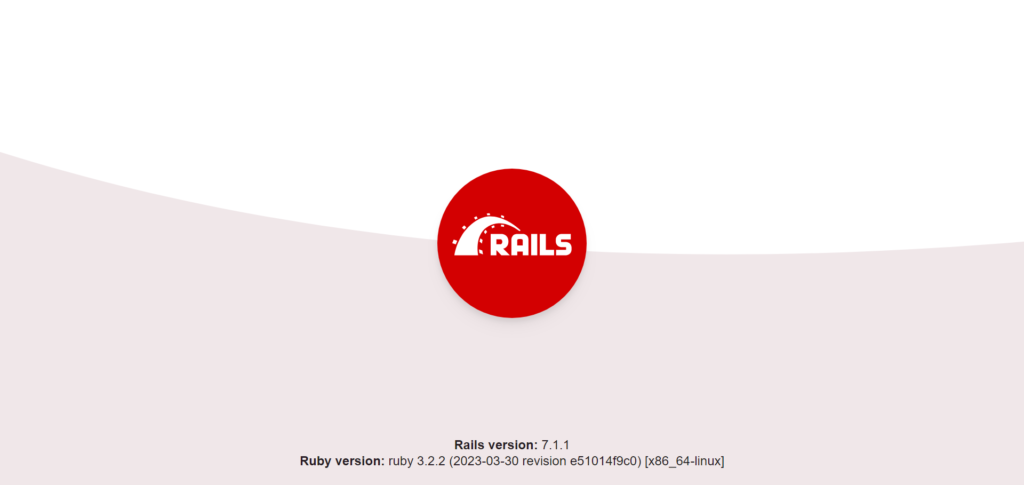
# Exitinghttp://localhost:3000で以下の画面が出たらOKです。(versionによって画面が違うみたいです)

参考:rbenvを用いたRuby on Rails環境の構築 on Ubuntu 20.04
おわりに
Ruby on Railsの環境構築まで行いました。これでチュートリアルをどんどん進めていこうと思います。


コメント